
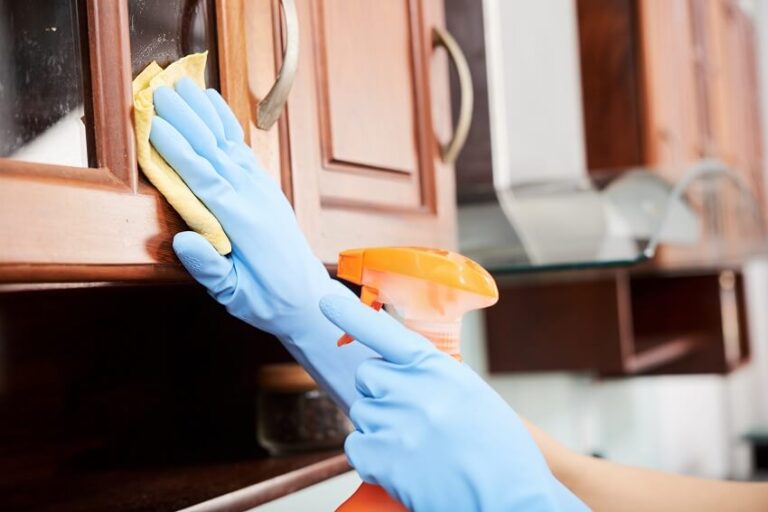
How to Clean Cherry Kitchen Cabinets Naturally
If you are deciding how to clean cherry kitchen cabinets naturally, start with the finish and the cabinet maker's care instructions. A homemade ingredient list does not establish that a cleaner is appropriate for a particular cabinet. Identify the product first, then choose a method that its documentation permits.
This guide uses two manufacturers' care documents as examples. American Woodmark's Continental Cabinetry page describes a mild dishwashing soap and warm water method, followed by removal of soap film and immediate drying [1]. Home Decorators Cabinetry's guide describes damp-cloth cleaning, drying, and attention to spills [2]. These are instructions for those products, not a guarantee for every cherry cabinet or finish.
Identify What You Are Cleaning
Collect the cabinet invoice, door specification, finish name, and any care sheet supplied with the kitchen. If the cabinets were already installed when you moved in, check your purchase paperwork or ask the previous owner or installer for the product details. A photograph of the door and a label from inside a cabinet can help you explain your question to a supplier.
Keep the distinction between wood species and finish in view. Ask the manufacturer which care document applies to your particular product. If the kitchen includes replacement doors, painted panels, or components from different suppliers, record those separately. Obtain clarification before assuming that one cleaning routine applies to every surface.
For cabinets that have been refinished, contact the person or business responsible for that work. Provide the original cabinet details along with the refinishing information. Ask which instructions govern the surface now, rather than relying entirely on the original cabinet manufacturer's document.
Understand the Documented Cleaning Method
For Continental Cabinetry, American Woodmark specifies applying its soap-and-water solution with a soft cloth, removing soap film with a damp cloth, and immediately drying with a clean, soft cloth [1]. The Home Decorators guide also emphasizes drying cleaned surfaces and gives particular attention to the sink and dishwasher areas when addressing spills [2].
Read the complete applicable document before starting. Check whether your chosen soap or other cleaning product matches the maker's instructions. Neither an online article nor the word “natural” on a label resolves uncertainty about a specific formulation. If the care sheet is unclear, give the supplier the cleaner's name and label information and request a written answer.
Do not invent a dilution ratio when the document does not supply one. Likewise, do not turn a manufacturer's general cleaning recommendation into a treatment for a stain it does not discuss. Keep those questions separate and ask about the exact issue you are trying to address.
Prepare a Small Cleaning Task
Once you have identified an approved method, organize the task around one manageable area. Keep the care instructions nearby and prepare the cloths and other materials they specify. Read through the sequence before applying anything so that you know what should happen after cleaning.
Check which parts of the cabinet are included in the instruction: the door face, frame, interior, and hardware may require separate guidance. If a cloth or accessory is not mentioned, ask whether it is appropriate before adding it to the procedure. Avoid treating an improvised brush, pad, or tool as an approved substitute.
Use the maker's directions for application, removal of residue, and drying. If the finish appears unusual during the task, stop and document the observation. Describe what you used and which steps you followed when requesting advice. Keep a record of the answer for the next cleaning task.
Do Not Assume Baking Soda or Vinegar Is Approved
The two reviewed documents do not provide a vinegar or baking soda cleaning recipe. Both caution against abrasive cleaning products [1][2]. Accordingly, this guide does not recommend either homemade treatment for your cherry cabinets.
Suggested read: Cherry Kitchen Unit Maintenance Tips: A Practical Care Guide
If you already use a homemade mixture, disclose its ingredients and proportions when asking the manufacturer about it. Request guidance for the identified cabinet line and finish. A method suggested for another household surface should be evaluated against the cabinet's own documentation before you adopt it.
An inconspicuous test is not a substitute for the manufacturer's approval. Ask whether testing is appropriate and, if so, what procedure the maker recommends. Do not assume that a lack of an immediate visible change establishes suitability for continued use.
Address Grease and Persistent Marks as Specific Questions
For a mark that remains after the approved routine, record its location and appearance. Photograph it and note whether it is on a door, frame, panel, or cabinet interior. Provide the cleaner name and the steps already attempted when contacting the manufacturer or supplier.
Ask which procedure applies to that particular mark. Request clarification about any required cleaning product, application method, or subsequent inspection. Do not add longer soaking, stronger mixtures, scraping, or sanding to the process without relevant instructions.
Keep hardware concerns separate from finish cleaning. For a handle, hinge, or drawer fitting, identify the component and ask for its care or adjustment document. Describe any looseness or other observation without diagnosing the cause yourself. Confirm who should carry out any proposed work.
Use Your Observations to Plan Maintenance
Choose a practical time to check the cabinets and their documentation. Record visible spills, marks, or other concerns and follow the product's applicable directions. The reviewed sources do not establish a universal weekly or monthly cleaning schedule, so this article does not prescribe one.
Keep your observations descriptive. Note where a mark appears, when you first noticed it, and whether it has been assessed previously. Attach photographs and supplier correspondence to the same entry. When asking about a recurring issue, include the earlier response and request confirmation that it still applies.
If water appears to come from plumbing or an appliance, contact the party responsible for that equipment. Explain the location and request an assessment. Also ask the cabinet supplier about the affected cabinet surface so that the equipment question and finish-care question receive separate attention.
Keep the Care Information Available
Store the cabinet identification, care guide, approved product information, warranty, and supplier contact details together. When you receive updated advice, record the date and the product it concerns. Keep guidance for replacement or refinished components with their own specifications.
For your next cleaning task, confirm three things: you have identified the finish, the selected method is permitted for that product, and you understand every step of the procedure. Where information is missing, ask before adding a treatment. That gives you a documented basis for cleaning without relying on unsupported homemade recipes.
Sources
[1] American Woodmark — Continental Cabinetry: Cleaning and Maintenance https://americanwoodmark.com/resources/continental-cabinetry
[2] Home Decorators Cabinetry — Cabinet Care, Cleaning & Adjustment Guide (PDF linked by the publisher) https://cdn.shopify.com/s/files/1/0788/2060/6243/files/HDC_Care_Cleaning_Adjustment_Guide.pdf?v=1689218113
Suggested read: Cherry Kitchen Cabinet Cost Per Linear Foot: What Drives the Price

Author and contributor.
